How Photo-to-Sticker Design Works in Australia
How to turn any photo into a custom illustrated sticker, step by step. Upload, pick a scene, print, receive. Everything you need to know.
By Jess Holloway5 min read
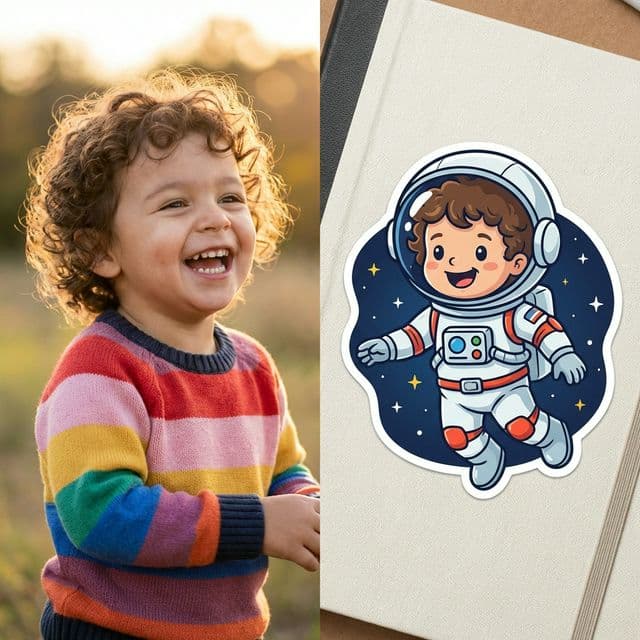
How to Turn a Photo Into a Printed Sticker (Step by Step)
Most sticker makers online give you a digital image and leave you to figure out the rest. StickerMe does the whole thing: an illustration drawn from your photo, professional printing, and Australian shipping. No design skills required.
This guide walks through every step, from uploading a photo to holding the finished stickers in your hand.
Step 1: Upload a Photo
Start at the design page. Upload a clear photo of a person or pet. Phone photos work perfectly: you don't need a professional shot.
What makes a photo work:
- Face clearly visible, filling a reasonable portion of the frame
- Good lighting. Natural light is ideal, no harsh shadows
- Front-facing or slightly angled. Extreme profiles hide the features that make it look like them
- One person or pet per photo. Multiple people need separate uploads
The photo you took in the backyard last weekend is probably fine. Camera quality barely matters. It cares about lighting and clarity.
Step 2: Your Photo Becomes a Character
This is where StickerMe differs from every other sticker service. We draw the person as an illustrated character from their facial features: structure, hair, skin tone, expression. The result is recognisably them, but in a stylised cartoon form that works as a sticker design.
This isn't a filter slapped over a photo. It's a new illustration drawn with the photo as reference. Your kid's face becomes a character that looks like them, placed in a scene they'd choose for themselves.
Step 3: Pick a Scene
Choose from the template library or describe something custom.
Template examples: Space Explorer, Dino World, Rainbow Unicorn. The library covers adventure, fantasy, sports, animals, and more.
Custom descriptions work too: "My daughter at ballet" or "my dog surfing at Bondi" are the kind of descriptions that produce great results. Be specific about the setting and the sheet follows it.
Step 4: Draw and Refine
Your illustrated design is drawn in seconds. If it's not quite right, adjust your description and try again. Each new design uses one credit, and you don't pay anything until you order a print.
This is the part where you can involve your kid. Show them the options. Let them pick the scene. Accounts include free design credits each week, with bonus and purchased credits available if you want more. Printing is charged only when you order a sheet.
Step 5: Choose Material and Size
Three sizes and three materials. Pick based on where the sticker is going.
-
Small (50mm): 15 per sheet. Good for pencil cases, reward charts, phone cases
-
Medium (75mm): 8 per sheet. The all-rounder. Lunchboxes, drink bottles, laptops
-
Large (100mm): 4 per sheet. Bedroom doors, car windows, school bags
-
Vinyl: Waterproof, dishwasher-safe, UV-resistant. Survives Australian summers
-
Matte: Soft finish, no glare. Best for scrapbooks and journals
-
Glossy: High shine, vivid colours. Pops on dark surfaces
Not sure which combination? The materials and sizing guide breaks it down by use case.
Step 6: Order
Sheets start from $12.00 AUD, then drop to $10.00 AUD each from 3 sheets and $8.00 AUD each from 10.
Shipping is $5.00 AUD, free over $40 AUD, with tracking. Delivery takes 5–7 business days after 1–2 business days of printing.
Step 7: Receive and Stick
Stickers arrive in protective packaging. Peel, stick, done. Vinyl stickers are rated for 3-5 years outdoors and longer indoors. They handle dishwashers, rain, sunscreen, and the general chaos of being owned by a child.
How StickerMe Compares to Other Sticker Makers
There are plenty of online sticker makers now. Canva, Fotor, Pixelcut and others all offer some version of a sticker image you can download.
They share a common limitation: they stop at the screen.
Every one of those tools gives you a digital file: a PNG you download. If you want a physical sticker, you then need to find a printer, upload the file, hope the resolution is correct, choose a material, pay for printing, pay for shipping, and wait.
StickerMe does the entire job. The illustration, professional printing on premium materials, and Australian shipping. One service, one workflow. You go from phone photo to physical stickers in your letterbox without using a second platform.
The other difference is the photo-based approach. Most sticker tools work from a typed description. You type "boy with brown hair as an astronaut" and get something generic. It won't look like your specific kid.
StickerMe starts with a real face. The output is recognisably that person. When a child sees their sticker for the first time, the reaction is almost always "IS THAT ME?" at a volume that carries through the house. A sticker that looks like a random cartoon kid is just a sticker. A sticker that looks like your kid is a keepsake.
What Makes a Good Source Photo
Most photos work, but a better photo gives a better sticker.
Do: Use natural lighting. Make sure the face is clearly visible. Shoot front-on or at a slight angle. Use a recent photo if the person's appearance has changed.
Avoid: Group shots where the subject is small in the frame. Heavy shadows across the face. Extreme profiles. Sunglasses covering the eyes. For pets, mid-shake blur.
A decent phone photo taken in daylight is all you need.
What People Use These For
The core audience is parents making stickers for kids: school labels, lunchbox decoration, birthday party favours, bedroom walls. But it's broader than that.
Gifts. A sticker sheet of someone as an illustrated character is a surprisingly effective gift. Low cost, high personal impact. Grandparents, friends, pet owners: the gift guide covers this in detail.
Adults. Laptop stickers, planner stickers, car bumper stickers. Adults pretend they're ordering for their kids, then quietly stick one on their own water bottle.
Teams and clubs. Teachers ordering class sets. Sports coaches ordering end-of-season gifts. Each person as their own illustrated character.
Try It Now
Accounts receive free design credits each week, so you can try variations and show your kid the options before ordering anything. You can also earn bonus credits or buy additional credits separately. Printing is only charged when you decide a design is worth ordering.
You can try a few designs before making an account, and signing up gets you more free credits each week. No credit card until checkout. Just a photo and a scene, and you can go from there.
Peel off another one
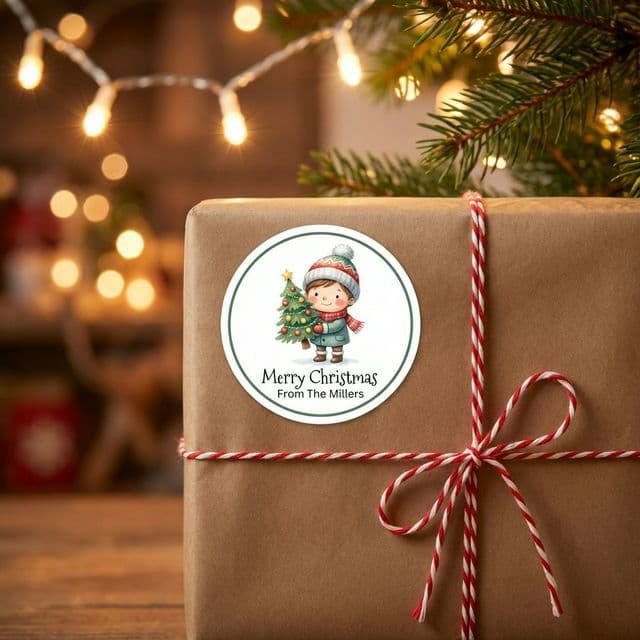
7 Ways to Use Stickers in Your Christmas This Year
Personalised Christmas stickers aren't just for gift wrapping. From advent calendars to teacher gifts, here are seven ideas worth trying.
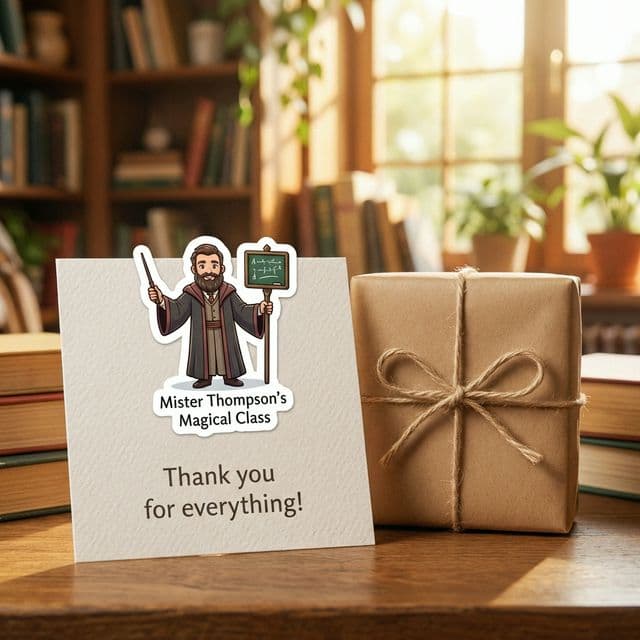
7 Teacher Gift Ideas That Aren't Another Mug
End of year teacher gifts in Australia that won't collect dust. Personalised, practical, and not a candle in sight.
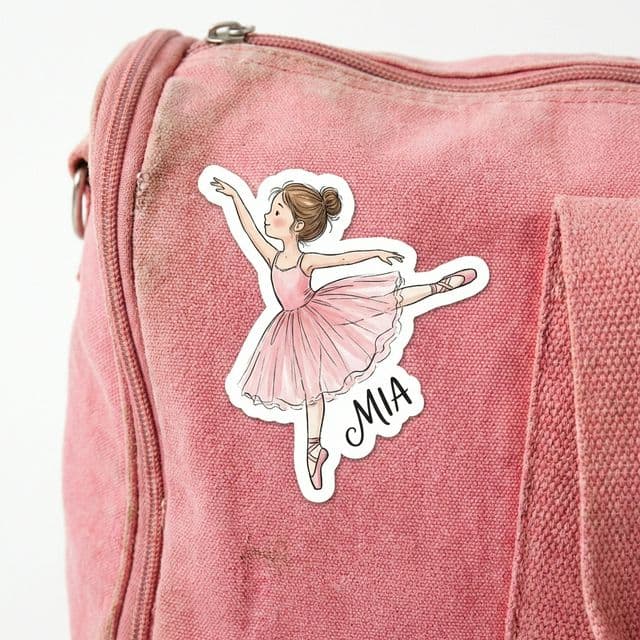
7 Ways to Celebrate Your Kid's Dance Recital
From the dance bag to the dressing room mirror, personalised dance stickers turn a ten-minute performance into a keepsake that lasts.

Want to make one?
Upload a photo, pick a scene, and see what our agents come up with. Accounts include free weekly generation credits, and printing is charged only when you order.